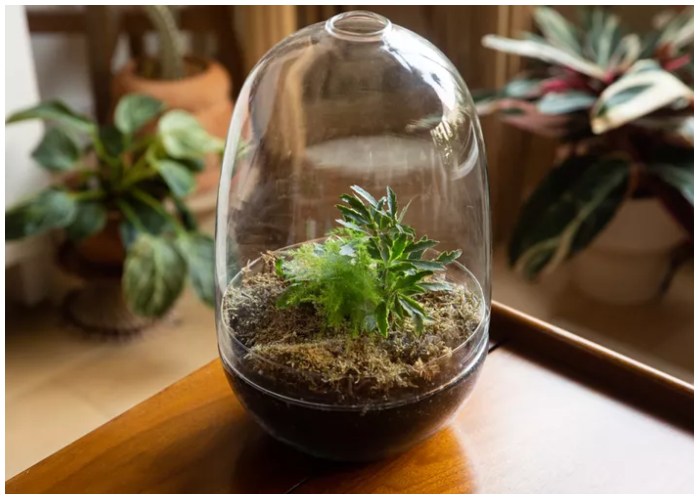
Terrariums are a charming way to incorporate greenery into your home, adding life to desks, dining room tables, and any well-lit space. These adorable DIY projects are not only easy to create but also simple to care for, making them perfect for both plant lovers and beginners alike. In this guide, we’ll walk you through the steps to craft your own miniature plant terrarium, creating a beautiful and low-maintenance addition to your decor.
What You’ll Need to Get Started
Before diving into the project, gather your materials. You can find most supplies at a local garden center or craft store. The essentials include:
- Glass container: Choose any size or shape, from jars to geometric terrariums. For a closed terrarium, make sure the container has a removable lid.
- Horticultural charcoal: Helps remove toxins and odors.
- Potting mix: Provides nutrients and structure for the plants.
- Terrarium plants: Choose small plants with similar water and light needs.
- Sheet moss: Adds aesthetic value and absorbs excess moisture.
- Gardening gloves, trowel, and watering can for planting and watering.
With your tools and materials ready, you’re all set to begin creating your terrarium!
Step 1: Build the Base
Start by placing 1 to 2 inches of horticultural charcoal at the bottom of your container. Charcoal helps with both drainage and removing any toxins or odors, ensuring that the plants in your terrarium stay healthy. This base will prevent plant roots from sitting in overly damp soil.
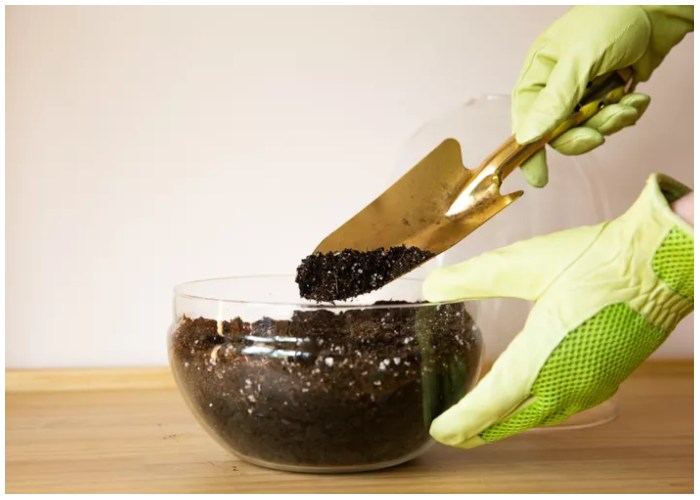
Step 2: Mix in Potting Soil
Mix some of the charcoal with potting soil using your hands or a trowel. This mixture helps with drainage throughout the terrarium, preventing excess moisture buildup. Fill the container until it’s one-fourth to one-third full with this charcoal and soil mix. Make sure to gently pack the soil every 2 inches to avoid large air pockets.
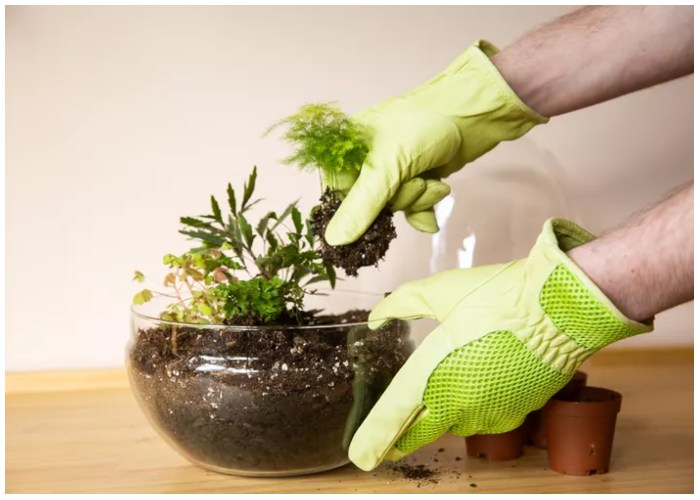
Step 3: Add the Plants
Carefully remove your chosen terrarium plants from their containers and arrange them on the soil surface. Ensure there’s enough space between the plants for additional soil to be added later. Ideal plant choices for terrariums include starfish plants, air plants, and nerve plants. Be sure to pick plants that have similar light and watering requirements for the best results.
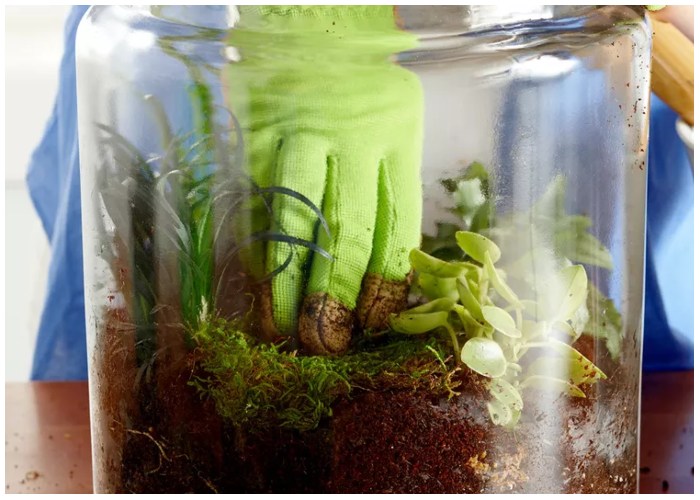
Step 4: Pack the Soil
Once your plants are arranged, use your hands to pack the soil around the roots. Make sure to bury the plants deep enough to keep them stable and to prevent their roots from being exposed. Packing the soil also ensures that there are no large gaps where air pockets could form.
Step 5: Top Dress with Moss
Add sheet moss on top of the soil to create a finished, lush look. The moss not only enhances the aesthetics of your terrarium but also helps absorb excess water, preventing root rot and other issues caused by overwatering. Arrange the moss between the plants for a polished, natural look.
Step 6: Water Your Terrarium
With everything in place, it’s time to give your terrarium a light drink. Slowly water the plants, ensuring the soil settles in without becoming overly saturated. To avoid overwatering, test the soil’s moisture level before each watering. If the soil feels dry, lightly water it, but be sure not to drench the roots.
Step 7: Care and Maintenance
Once your terrarium is complete, place it in a well-lit spot with indirect sunlight. Maintenance is minimal, but you may need to trim plants as they grow out of the container or prune moss if it becomes too thick. Regular care will keep your terrarium looking fresh and vibrant.
Keep the Fun Going
Once you’ve created your first terrarium, you might find yourself eager to make more. Consider making a forest terrarium using an old fish tank or try a whimsical fairy garden with miniature figurines. You could even host a terrarium-making party with friends for a fun, creative gathering. Terrariums offer endless possibilities for customization, bringing a little bit of nature into your home with style and creativity!