Bring the bright and fresh colors of spring into your home with this simple DIY project! Creating your own beaded hangers for beautiful botanical prints is a fun and affordable way to update your decor, and the best part? You can do it for under $5!
In this tutorial, we’ll guide you through the steps to craft these charming hangers using just a few basic supplies. Whether you’re a DIY pro or a beginner, this project is an easy way to add a touch of nature to your space.
A Spring Refresh with Botanical Prints
Spring is the perfect season for refreshing your home decor, and nothing says spring like vibrant botanical prints. These vintage-style floral and butterfly prints add a charming touch to any room, offering a nod to nature’s beauty. Inspired by spring florals and coordinating home accents, such as Target’s Opalhouse Embroidered Pillow, these prints are designed to bring life and color to your space.
Materials You’ll Need for Beaded Hangers
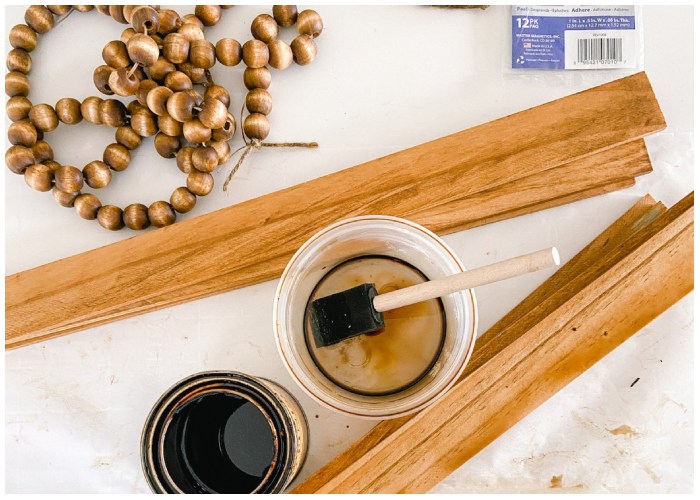
To create these stylish and functional beaded hangers, you’ll need just a few materials—many of which you might already have on hand:
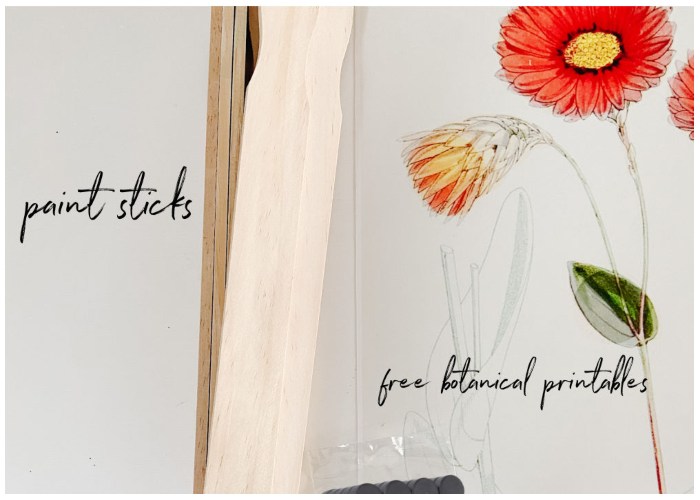
- Wood: Free paint sticks or any thin wood strips.
- Magnets: Strong magnets, 8 per hanger (16 total for two prints).
- String: To hang your artwork.
- Wood Beads (optional): For added decoration.
- Glue Gun: To secure the beads and string.
- Stain or Paint: Customize the color to match your decor.
With these items ready, you’re all set to start crafting your personalized hangers.
Step 1: Prepare the Wood Strips
Begin by cutting the paint sticks or wood strips to the length of your prints. If you’re using 16×20 prints, cut your wood strips to 16 inches to perfectly match the width. After cutting, stain or paint the wood strips in your preferred color. You can leave the wood unfinished for a natural look or choose a shade that complements your space.
Step 2: Add Beads for a Decorative Touch
For an extra decorative element, add wood beads to your hanger’s string. String about 50 small beads onto a length of string, approximately 20 inches long, for each hanger. Once the beads are in place, tie the ends securely, leaving about two inches of string past the knot. If you’d like to stain the beads, submerge them in a mixture of stain and water, then wipe them clean for a finished look.
Step 3: Attach Magnets to the Wood Strips
Next, it’s time to attach the magnets to the wood strips. Make sure to use strong magnets for this project—magnet strips won’t work as well. Place two magnets about one inch from each end of the wood strip, then hot glue them in place. You’ll need a total of 8 magnets per hanger (4 on the top and 4 on the bottom). These magnets will hold the artwork securely in place without damaging the prints.
Step 4: Secure the String to the Wood
Using the extra string left over from your beaded strand, hot glue the knots to the back of the wood strip. Make sure the string is securely attached close to the edge of the top strip so the hanger will lie flat against the wall. If you’re using beads, hot glue the first bead to the top of the wood strip to keep everything in place.
Step 5: Print and Hang Your Botanical Art
Now that your hangers are ready, it’s time to print your spring botanical art. You can either print these beautiful vintage designs at home or send them to a local print shop. Once printed, lay the artwork over the bottom magnets and place the coordinating wood strip on top, allowing the magnets to attract and hold the print in place.
Step 6: Display Your Artwork
Your DIY beaded hangers are complete! Simply hang your botanical prints on the wall and enjoy the fresh, spring-inspired decor. These hangers make it easy to switch out artwork whenever you like, giving you a versatile and stylish way to update your space throughout the seasons. This affordable and creative project brings a touch of nature indoors, perfect for any home looking to welcome the bright and hopeful energy of spring!