Rolling storage crates are a convenient solution to your messy house. Shoes, clothes, children’s toys—no matter what mess you might have lying around, having these functional and fashionable tools makes keeping your home neat and tidy a piece of cake. They are not only practical but also add a rustic charm to your home decor. Making your own rolling storage crates can be a fun and rewarding DIY project that saves you money and provides customized storage solutions. This guide will walk you through the process, ensuring you have stylish and functional storage crates that you can proudly display in your home.
Rolling storage crates are versatile and can be used in various rooms and for different purposes. From organizing children’s toys in the playroom to storing shoes in the entryway, these crates help declutter your living spaces while adding a touch of personality. Moreover, the ability to customize the crates to match your home decor makes them a favorite DIY project for many homeowners. With just a few materials and some creativity, you can transform simple wooden crates into stylish and mobile storage solutions.
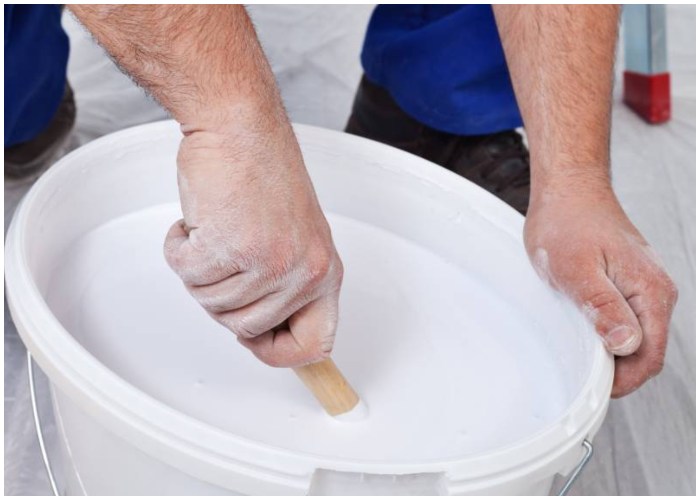
Step 1: Mix The Paint
Start by mixing your paint to get the color you want to achieve. The color you’ll be using for your rolling storage crates will depend entirely on you. You can also use professional washes and wood stains. If you want to save money, you can make your own with acrylic paint and water. Mixing paint can be a fun activity, especially if you involve your kids in choosing the colors. It adds a personal touch to your crates and makes them unique.
Step 2: Sand The Crate
With your paint ready, start prepping your crate. To do this, first ensure that it’s smooth and ready for painting. Use sandpaper to file away rough edges, uneven surfaces, and sharp pieces on the crate. Once you’re done, grab a brush or cloth to sweep away any tiny particles and debris that may have found their way between the creases of the crate. Repeat the process until your crate is smooth and ready for painting. Sanding is crucial as it helps the paint adhere better and gives your crate a polished look.
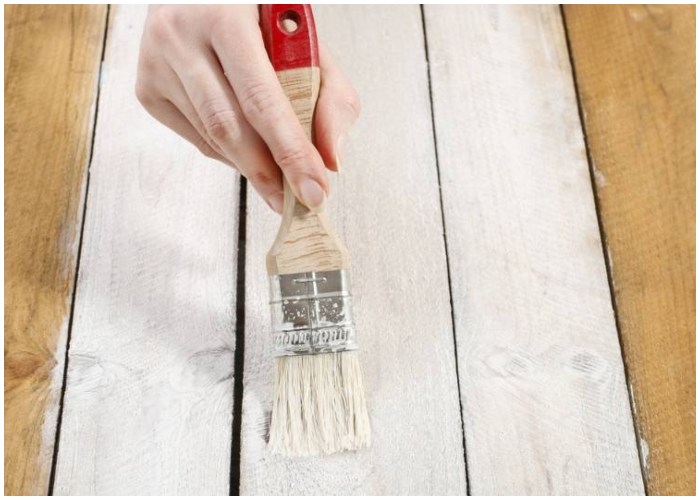
Step 3: Paint!
Now, you can start painting your crate. Make sure to do this with a piece of cloth or newspaper underneath to avoid getting paint splashes everywhere. Once you’re done applying the first layer, let it dry for a few hours. If necessary, leave it overnight to give it enough time to dry completely before applying another coat. Pro tip: You can opt to use a sponge brush instead of a bristle brush for this DIY project. This helps avoid unsightly brushstrokes that might be visible on your rolling storage crates. Painting can be a therapeutic activity and a great way to express your creativity. You can experiment with different colors, patterns, and finishes to match your home decor.
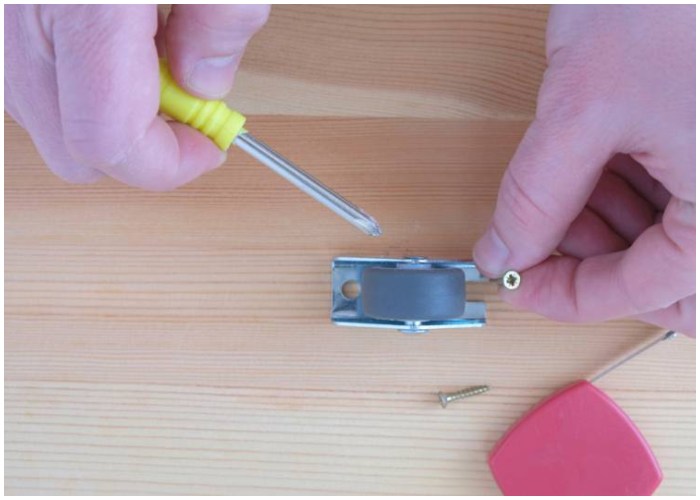
Step 4: Install the Wheels
With your rolling storage crates painted and dried, you’re ready to roll. Grab your caster wheels and some wood screws to get started. Make sure your screws fit securely through the wheel mount’s holes. Remember that the crate’s wood boards are not thick, so ensure your screws are not too long as they might end up coming out of the base’s other side. Secure a wheel on each corner of every crate. Roll them around and make sure the wheels don’t come off or shake when moved. Installing wheels is a straightforward process but requires precision to ensure that your crate moves smoothly. Once the wheels are securely attached, test the crate on different surfaces to ensure stability and ease of movement.
Enjoy Your New Rolling Storage Crates
Your final project should look like this:
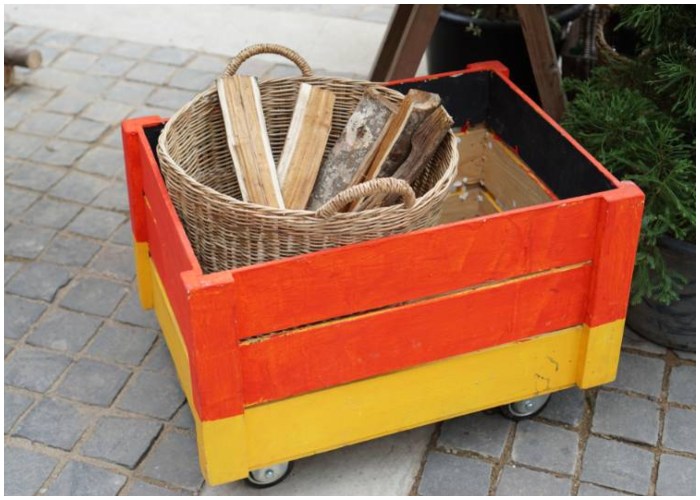
There you have it! Your DIY rolling storage crates are finished just like that. All that’s left to do now is to pick up those toys the kids left lying around and organize them in your new containers. These crates are not only functional but also add a stylish touch to any room. You can use them in the living room, bedroom, or even the garage.
Maintaining an Organized Home
Maintaining a clean and organized house doesn’t always have to come with a heavy price tag. The DIY rolling storage crates tutorial above shows you that even from the simplest things, you can come up with the most awesome crafts. These crates are versatile and can be used for various storage needs. You can customize them further by adding labels, handles, or even cushions on top to serve as extra seating.
This project is perfect for a weekend DIY activity and can be a fun family project. Getting your kids involved in the creation process can teach them valuable skills and the importance of organization. Plus, they’ll be more likely to keep their toys and belongings in the crates they helped make. So, gather your materials and get started on your rolling storage crates today. You’ll be amazed at how such a simple project can transform your space and make your life more organized. Happy crafting!