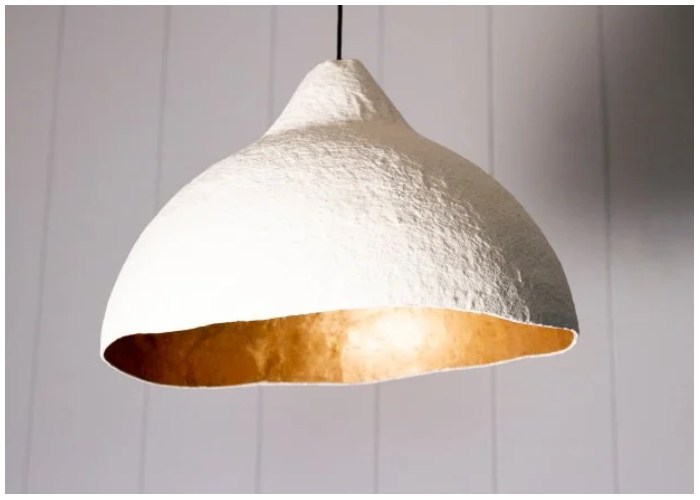
Paper mache is a classic crafting technique, but you can take it to the next level by creating something functional and stylish, like this one-of-a-kind light fixture. If you want to add some personal flair to your home and brighten up a space with a unique and artistic pendant light, this project is for you. By using newspaper, glue, and a few other simple materials, you can craft a pendant light that is not only budget-friendly but also customizable to your style. Whether you want a large or small fixture, the size and design are up to you. We’ve even added a glamorous touch by lining the inside with gold spray paint for a warm, sophisticated glow, making it a perfect addition to your dining area or living room.
Here’s how you can create your own DIY paper mache light pendant from scratch!
Tools and Materials:
- Clamp light
- Aluminum foil
- Masking tape
- Large play ball
- Newspaper
- Sewing ruler or straight edge
- Large mixing bowl
- White school or craft glue
- Water
- Knife
- Sandpaper or sanding block
- Gold spray paint
- Scissors
- Ceiling texture spray
- Awl
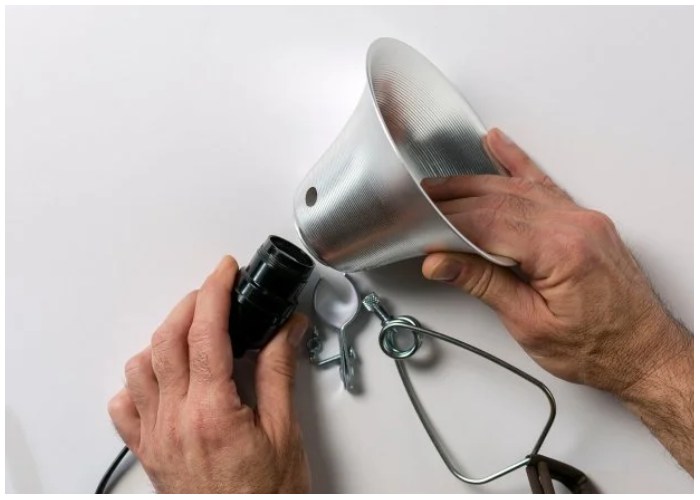
Step 1: Create the Form
To start, you’ll need to prepare the mold for your light pendant. Remove the bell shade from your clamp light and wrap aluminum foil around the light bulb housing to create a mold. Next, fill the mold with tightly wound foil to make a solid shape that will hold the bulb at the top of the pendant. Attach this mold to the top of a large play ball using masking tape. This will be the structure around which you’ll build your paper mache pendant.
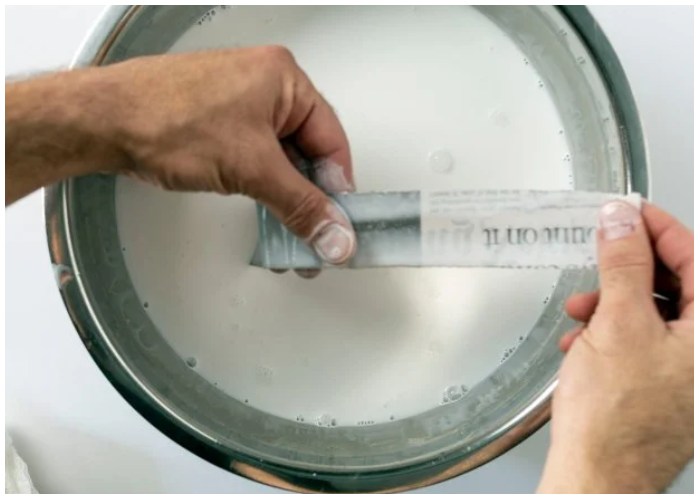
Step 2: Prep the Paper Mache
Tear strips of newspaper into 1-½ inch wide pieces. Using a sewing ruler or straight edge will help you get consistent strips. Next, mix equal parts glue and water in a large bowl to create the paper mache paste. You’ll need about three cups of each to cover the entire ball.
Step 3: Build the Pendant
Dip each strip of newspaper into the glue mixture, removing any excess by passing the strip between two fingers. Begin by placing the strips vertically over the light bulb housing mold, ensuring they are centered at the top. Once the mold is covered, start wrapping strips horizontally around the ball, overlapping them slightly. Apply at least 10 layers of paper mache to ensure the pendant is sturdy. Allow it to dry completely before moving on to the next step.
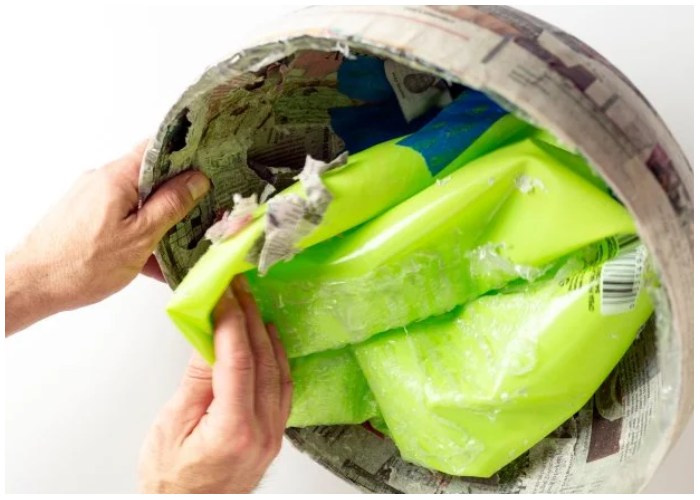
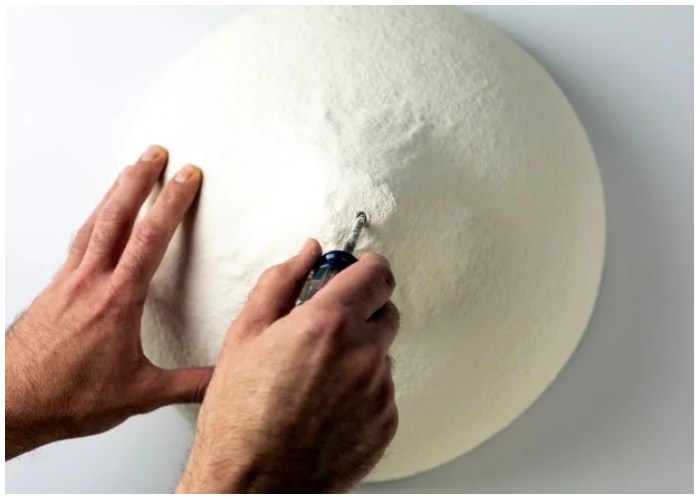
Step 4: Paint the Inside
Once the paper mache is dry, carefully pop the play ball with a sharp object and remove it. Smooth any rough edges with sandpaper. Next, spray the inside of the pendant with gold spray paint to give it a luxurious, glowing finish. Apply a second coat if necessary and let it dry. For a more organic look, use scissors to trim the bottom of the pendant in a slight wave pattern.
Step 5: Paint the Outside
To give the pendant a textured finish, cover the inside with masking tape and paper to protect it while you spray the outside. Coat the exterior with ceiling texture spray, adding a second layer if needed. Once the texture spray has dried, the pendant will have a sophisticated finish that complements the smooth, metallic interior.
Step 6: Assemble the Light Fixture
Using an awl, make a hole at the top of the pendant for the electrical cord. Disassemble the light bulb housing from the clamp light and disconnect the wires. Insert the cord through the hole, reconnect the wires, and reassemble the light housing. Once everything is connected, pull the cord tight to position the light bulb inside the pendant. Add an LED light bulb (avoid incandescent bulbs as they generate more heat) and hang your pendant light in its desired location.
Final Thoughts
With just a few simple materials, you can create a stunning paper mache light pendant that will serve as both a functional light source and an artistic statement in your home. The warm glow from the gold interior will provide a cozy atmosphere, while the textured exterior adds a modern touch. This DIY project is not only budget-friendly, but it also allows you to customize the size and style to fit any room.