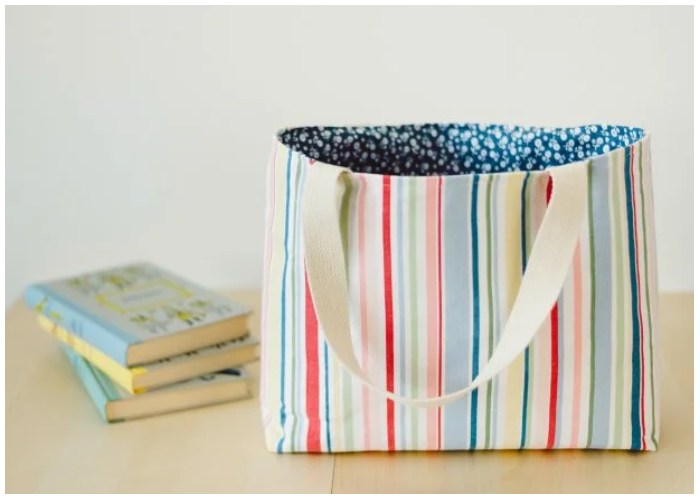
Custom tote bags make for a stylish and functional accessory that can be personalized to reflect your unique fashion sense. Whether you want to create a bag for school, work, or weekend outings, learning how to make a lined fabric tote bag is an easy way to add a handmade touch to your collection.
This sewing project is perfect for beginners, including tweens and teens who are just starting out with sewing. With the right materials and a little patience, you’ll have a practical tote bag that you can use for both work and play. Let’s dive into this straightforward project and get creative with fabrics, colors, and patterns.
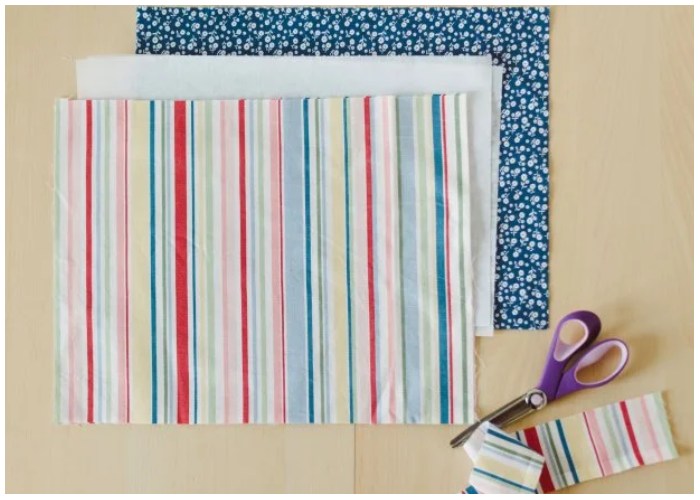
Materials You’ll Need:
- 1/2 yard of cotton fabric for the outer layer
- 1/2 yard of complementary cotton fabric for the inner lining
- 1/2 yard of heavy fusible interfacing
- 42″ of canvas strap for handles
- Fabric scissors or rotary cutter
- Sewing machine
- Thread
- Iron
Step 1: Cut the Fabrics
Start by cutting two 18″x14″ rectangles from both your outer and inner fabrics. These will form the main body of the tote bag. Next, cut two 18″x14″ rectangles from the fusible interfacing to provide structure and strength. For the straps, cut two 21-inch pieces of canvas strap. This will ensure the straps are sturdy enough for everyday use.
Step 2: Snip the Corners
To create a flat bottom for your tote bag, snip out a 2″x2″ square from the bottom corners of each fabric rectangle. Make sure to repeat this step for the interfacing as well. These snipped corners are what will eventually shape the base of your tote.
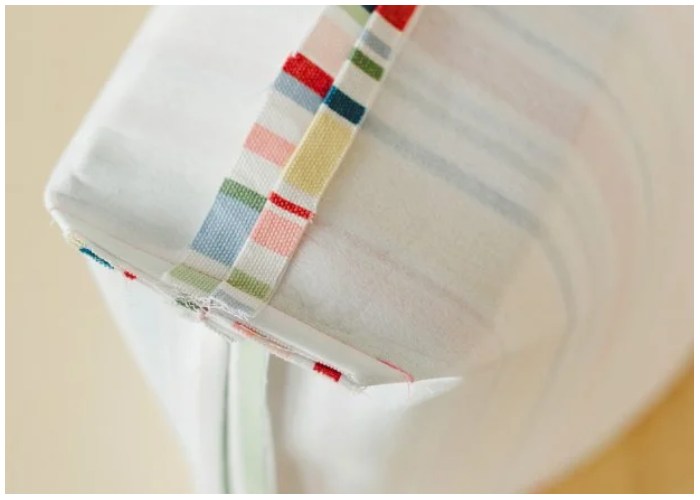
Step 3: Add Interfacing and Sew the Sides
Next, press the fusible interfacing onto the wrong side of the outer fabric rectangles. Use the manufacturer’s instructions for proper adhesion, which usually involves applying heat with an iron. Once your interfacing is secured, pin the right sides of the outer fabric together and sew straight seams along the sides and bottom, leaving the top and the snipped corners unsewn. After sewing, press the seams open with your iron to create a smooth finish.
Step 4: Create the Bag Corners
To give the tote a flat base, pinch together the gaps at the snipped corners and align the side and bottom seams at the center. Pin these areas and sew a straight seam across, creating a neat corner that adds depth to your tote bag.
Step 5: Sew the Liner Sides and Corners
Repeat the previous steps with your inner fabric (the lining), sewing the sides and bottom, and pinching the snipped corners to create a flat base. This will form the interior of your bag, which adds extra durability and a polished finish to the project.
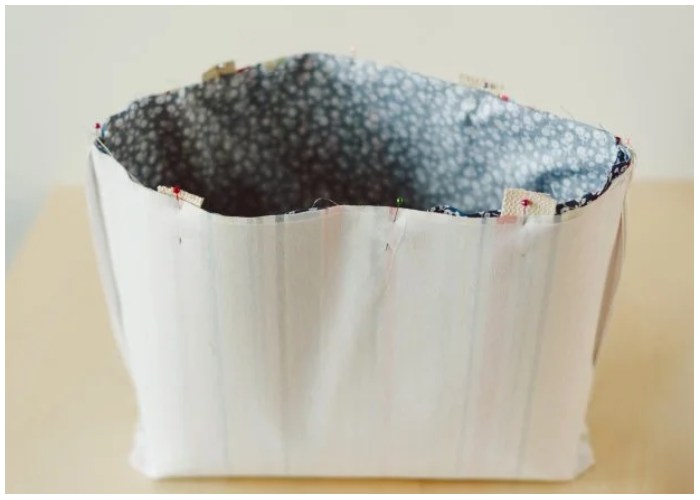
Step 6: Piece Together and Pin
Now, flip the liner fabric right-side out and place it inside the outer fabric, so the right sides of both pieces face each other. Tuck the two canvas straps between the outer and inner fabrics, making sure the ends face upward and are spaced about four inches from the side seams. Once the straps are positioned correctly, pin the fabric layers together around the opening of the bag.
Step 7: Sew the Bag Opening
Starting at a side seam, sew a 1/2″ seam around the top of the tote, making sure to catch all four ends of the canvas straps. Leave a 4-inch gap before completing the seam to allow room for turning the bag right-side out later on.
Step 8: Turn and Press
Pull both the outer and inner fabrics through the gap you left, turning the tote bag right-side out. Smooth out any wrinkles by pressing the bag lightly with a warm iron. This will help create clean lines and make the bag look professionally finished.
Step 9: Top-Stitch and Finish
To close the gap and add a final touch, top-stitch around the entire opening of the tote bag. This not only finishes the edges but also reinforces the strength of the canvas straps. Once you’ve completed the top-stitching, your DIY lined tote bag is ready to be used.
A Perfect Bag for Work and Play
With just a few basic materials and simple sewing techniques, you now have a custom-lined tote bag that’s perfect for work, school, or everyday adventures. Feel free to experiment with different fabrics and patterns to suit your style, and don’t hesitate to make additional bags for friends or family. Each tote can be a unique, handmade creation that reflects your creativity and craftsmanship. Enjoy your new DIY fashion accessory!